The Ultimate Free Guide to Applying Salon-Grade Gel Polish for 3-Week Wear
Jump to Section
Achieving a gel manicure that lasts three full weeks without chipping, lifting, or losing its mirror-like shine is the "Holy Grail" of DIY nail enthusiasts. While many believe the secret lies solely in the brand of polish, the reality is that 90% of a manicure's longevity comes down to technique and preparation. At Candy Gel, we believe everyone deserves professional-grade results at home. This guide breaks down the exact steps used by elite nail technicians to ensure maximum adhesion and a flawless finish.
The Essential Professional Toolkit
Before you begin, ensure you have the right tools. Using substandard equipment is the fastest way to a failed manicure. You will need:
- High-Quality LED/UV Lamp: Ensure it has enough wattage (at least 36W) to cure the gel deeply.
- 180/240 Grit Nail File: For shaping and lightly buffing the nail plate.
- Cuticle Pusher and Nipper: For meticulous cuticle removal.
- 90% Isopropyl Alcohol or Dehydrator: To remove all surface oils.
- Salon-Grade Gel System: Including Base Coat, Color, and No-Wipe Top Coat.
Mastering Nail Prep: The Foundation of Longevity
If you skip prep, your polish will lift. It is that simple. The natural nail produces oils that act as a barrier against adhesion. Your goal is to create a clean, dry, and slightly textured surface for the gel to "grip."
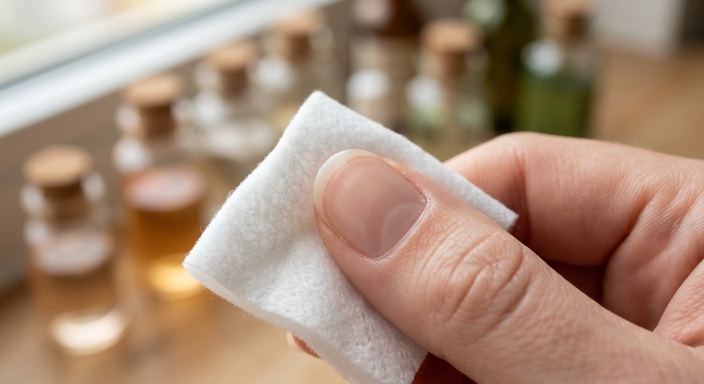
Start by pushing back your cuticles gently. Use a nipper to remove only the dead tissue (the white, crusty bits)—never cut live skin. Next, use a 240-grit buffer to remove the shine from the entire nail plate. You aren't thinning the nail; you are simply removing the oily top layer. Finally, scrub the nails with a lint-free wipe soaked in 90% Isopropyl Alcohol. Once prep is done, do not touch your nails with your fingers, as you will transfer oils back onto the surface.
The Science of the Base Coat
The base coat acts as double-sided tape. It bonds to the natural keratin of your nail and provides a surface that the color gel can fuse with. The most common mistake is applying the base coat too thick.
Apply a very thin, even layer. Use the brush to "scrub" the base coat into the microscopic ridges you created during buffing. Crucially, leave a tiny 1mm gap between the gel and your cuticle. If the gel touches the skin, it will create a "bridge" that will eventually break and cause lifting. Cure for 30-60 seconds according to your lamp’s instructions.
Applying Color and The Art of Capping
When it comes to color, thin layers are mandatory. Darker pigments especially require more time for UV light to penetrate. If you apply a thick layer, the top will cure while the bottom remains wet, causing the polish to wrinkle or peel off in a single sheet.
The "Capping" Technique: Before you put your hand in the lamp, run the side of your brush along the very edge (the tip) of your nail. This "caps" the free edge, wrapping the polish around the tip. This creates a seal that prevents water and debris from getting under the polish, which is the leading cause of tip-wear and chipping.
Sealing the Deal: Top Coat Secrets
The top coat provides the durability and the shine. For 3-week wear, we recommend a "No-Wipe" Top Coat, which cures to a hard, glass-like finish without a sticky residue. Just like the previous steps, ensure you cap the free edge with the top coat as well. This final seal ensures that the layers underneath are completely protected from the elements.
After the final cure, wait 60 seconds before applying cuticle oil. Touching the polish immediately after curing can sometimes dull the shine if it hasn't "set" in the ambient air temperature.
Post-Manicure Maintenance for 3-Week Wear
Once your manicure is complete, your job isn't over. To make it last 21 days, follow these rules:
- Use Cuticle Oil Daily: This keeps the natural nail flexible. If the nail becomes too brittle, it will pull away from the gel.
- Wear Gloves: Household chemicals and hot soapy water are the enemies of gel polish.
- No Picking: If you see a tiny lift, do not pull it. Use a tiny drop of nail glue to seal it or file it down gently until you can perform a proper repair.
Frequently Asked Questions
Why is my gel polish peeling after only a few days?
Peeling is usually caused by improper nail preparation. If any oils or dust remain on the nail plate, or if the polish touches the cuticle or skin, the bond will break, leading to premature lifting.
Do I really need to cap the free edge?
Yes. Capping the free edge seals the polish around the tip of the nail, preventing water and oils from getting under the gel, which is the primary cause of chipping.
How many layers of color should I apply?
For salon-grade results, apply two thin layers. Applying one thick layer can lead to "wrinkling" because the UV light cannot penetrate the depth of the polish to cure it fully.